Historic homes rarely match their drawings. Ask any architect who has pulled original plans for a century-old house, and they will tell you the paper lies. Walls lean a few degrees off plumb. Floors settle unevenly over decades. A 1960s addition sits awkwardly against 1920s framing that nobody documented properly. When a renovation team prices and designs from records like that, every dimension on the sheet carries risk. That is exactly why scan to BIM for historic buildings has become the standard first move before anyone touches a wall.
The scale of this problem is real. England alone holds close to 380,000 listed buildings, and most fall into the residential category. In the US, 87% of homes built before 1940 are presumed to contain lead-based paint, so teams need accurate geometry before planning any intervention. Renovation is also where construction spending is heading. Investment in renovation makes up close to 29.6% of total construction spend across the EU, and tightening energy codes are pushing that share higher. Against that backdrop, as-built models built from laser scans have become the geometric foundation for renovation design, structural checks, and MEP coordination.
What Is Historic Home Scanning?
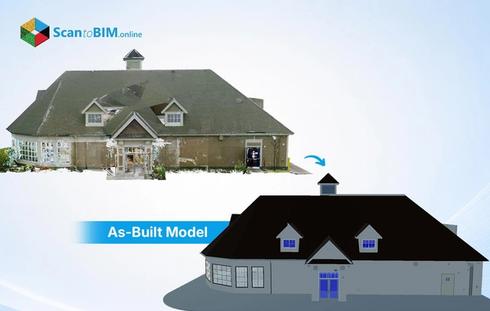
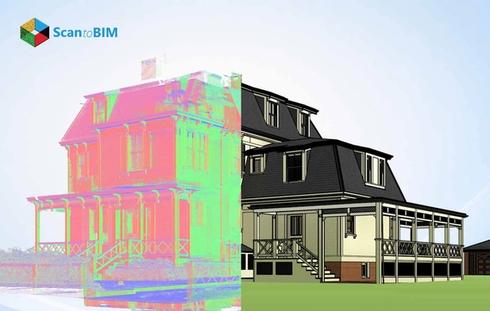
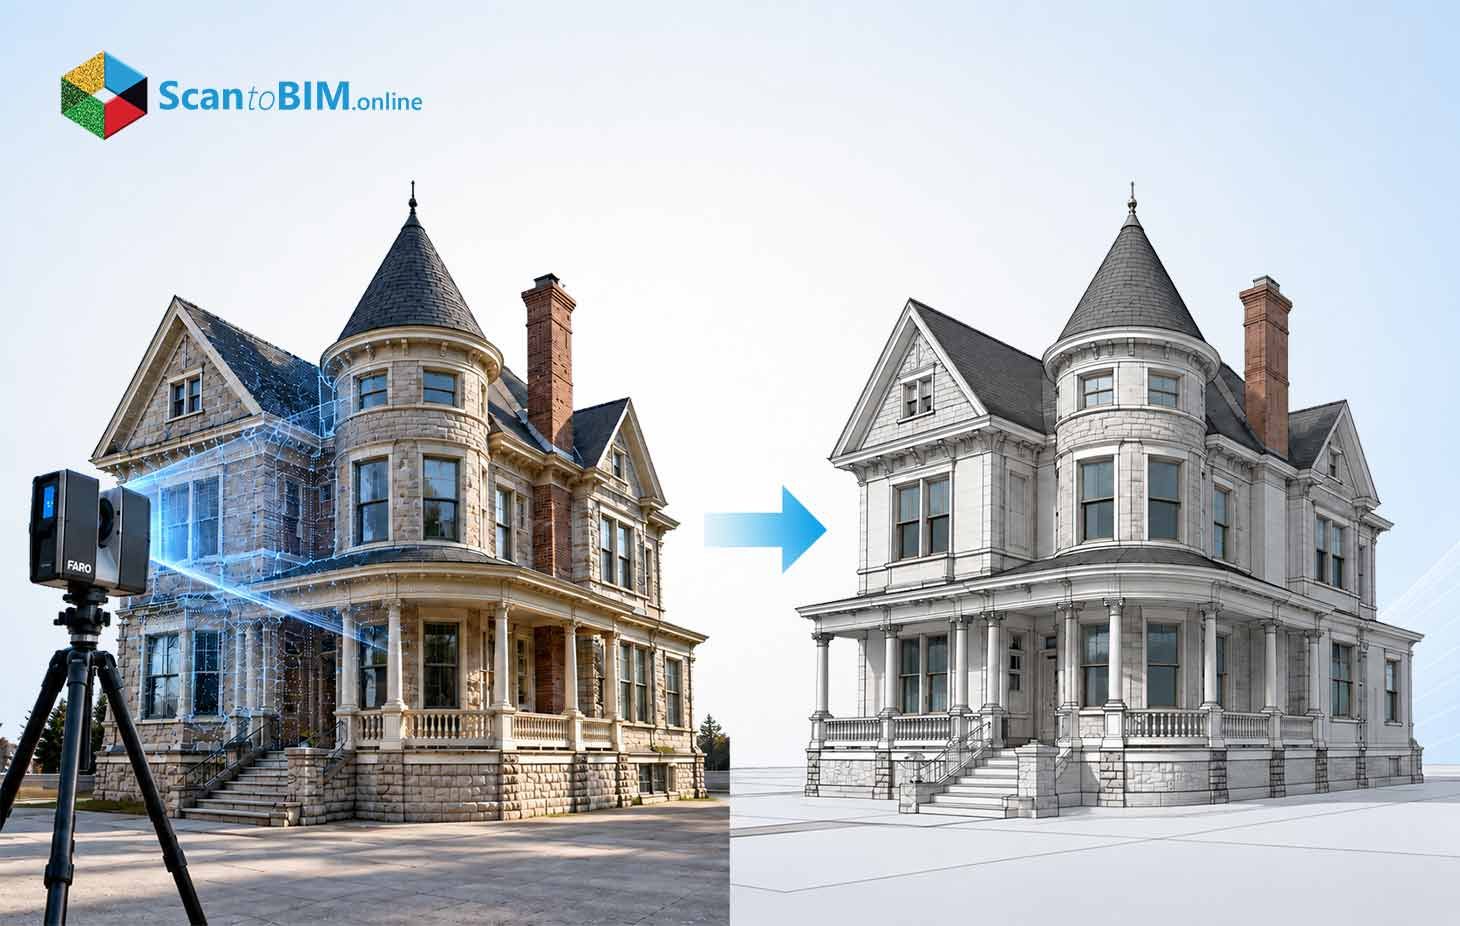
Historic building scanning is the systematic capture of an existing dwelling's geometry using reality-capture tools, usually a terrestrial laser scanner paired with close-range photogrammetry or a mobile SLAM device. The goal is a dimensionally verifiable record of the building as it stands, not as someone imagined it should stand. The output is not a drawing. It is a measured 3D dataset of millions of coordinated points, each carrying position, intensity, and often color.
Before committing budget, owners typically choose among four deliverables:
- Photographs and 2D drawings, when basic documentation suffices
- A retained point cloud, kept as a digital record of the asset
- A 3D parametric model, built to a defined level of detail
- A layered combination, matched to different project needs
Historic home point cloud to Revit work differs from ordinary residential capture in one key way: the interpretation carries the difficulty, not the equipment. That difficulty is exactly why hand measurement struggles the moment you step inside an old, uneven structure.
Why Traditional Measurements Can Be Challenging
Hand measurement fails an old building in three distinct ways. It is slow, it is selective, and it assumes a regularity that historic construction never had.
A tape-and-disto survey records a finite set of dimensions and interpolates between them. That works in a rectilinear new build. It falls apart once a wall tapers across its height or a "square" room turns out to be a parallelogram. Manual work also only captures what the surveyor thought to record that day, so anything missed means a return visit. Field comparisons confirm this: a handheld distometer took 70 minutes to survey an area that a mobile scanner covered in 30 minutes, while producing a fraction of the data.
Human error compounds the problem. Sagging tapes and line-of-sight limits introduce discrepancies of an inch or more over long runs, while terrestrial scanning typically holds accuracy within a few millimeters per point. RICS standards place heritage recording in Band C, requiring ±5mm plan accuracy, a tolerance manual methods rarely hold across an entire irregular dwelling.
How 3D Laser Scanning Captures Existing Conditions
Laser scanning for historic buildings works by measuring range and angle to millions of surface points from known instrument positions. Those measurements build a dense polar coordinate field, which then converts into a Cartesian point cloud.
No single instrument does everything well, which is why hybrid capture has become standard practice. Terrestrial scanning delivers strong accuracy on large, complex geometry, while close-range photogrammetry captures decorative detail that a laser alone cannot render.
Scan planning determines whether captured data holds up later:
- Work in a closed loop, exterior first, before moving indoors
- Scan every doorway for sufficient overlap between spaces
- Capture through windows and balconies to link indoor and outdoor data
- Maintain 30-50% overlap between adjacent scan positions
Historic interiors bring specific error sources worth planning around. Mixed pixels at edges can produce errors of several centimeters. Reflective or porous surfaces introduce measurable offsets. Fine mouldings often need a photogrammetric supplement to resolve properly.
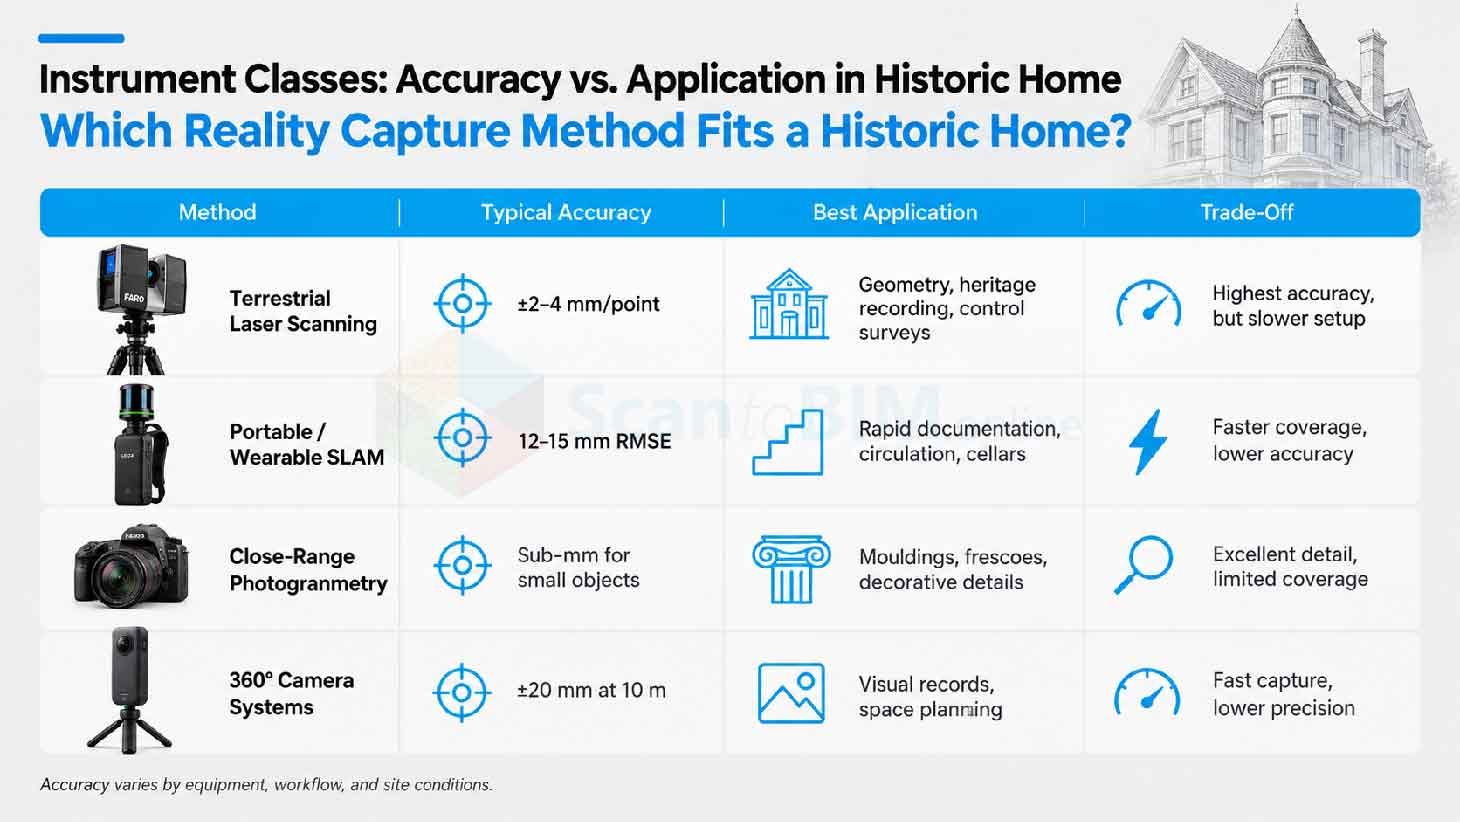
None of this data becomes usable until individual scans merge into one coherent, control-tied dataset. That merging is where the real processing work begins in the workflow of scan to BIM for historic buildings.
From Laser Scan to Point Cloud
Individual scans are not yet usable data. They need registration to become one coherent cloud and georeferencing to tie that cloud to a real-world control framework.
Registration aligns overlapping scans through targets or cloud-to-cloud matching, distributing residual error across the whole set rather than letting it accumulate scan by scan. Professional work typically achieves 3-6mm standard deviation. Control point practice matters just as much as software:
- A minimum of three points defines plane and orientation.
- Four to six points add redundancy and error checking.
- Control accuracy should match or exceed the required cloud accuracy.
Raw clouds also carry noise, furniture, and stray artifacts that need cleaning before anyone models anything. Format choice matters too: E57 stays open and vendor-neutral for long-term archiving, while RCP/RCS suits direct Revit consumption.
A clean, registered cloud is only raw material. Turning it into a usable as-built model is where the real modeling effort starts.
How Point Cloud Data Becomes an As-Built BIM Model
Converting point cloud to Revit geometry is where most project hours go, and where marketing claims about automation diverge from reality. A survey of 208 professionals across 78 countries found that most scan-to-BIM modeling still happens manually. Automation tools remain restricted to a small share of practitioners, many of whom distrust results on irregular geometry. Revit dominates as the platform of choice, with ReCap, AutoCAD, and CloudCompare as common companions.
The reason is structural. Software has not been built to automatically convert complex point-cloud shapes into BIM components, so automatic methods stay reliable mainly for flat surfaces and simple primitives.
Practitioner technique for heritage residential work includes:
- Disallowing Revit's automatic wall joins on non-orthogonal walls
- Manually embedding walls where they meet at odd angles
- Modeling non-repeating windows in place, directly against the cloud
- Locking finished geometry to reference planes to prevent drift
That manual effort is not wasted motion. It is what determines which specific elements of a historic home actually need this level of attention, and which ones do not.
Key Elements Captured in Historic Home Scanning
A well-scoped historic home scan to BIM deliverable gets organized element by element, since accuracy needs shift dramatically across a single house. Here is what typically gets prioritized:
- Structural shell and deformation: Wall faces, plumb deviation, floor levels, and roof geometry, all of which support ongoing settlement monitoring once captured as a metric baseline.
- Non-orthogonal and layered fabric: Walls that never followed a grid, plus overlapping construction phases managed through time parameters in the BIM model.
- Openings: Windows and doors, the highest-value and most labor-intensive elements, especially where none of them repeat.
- Decorative and moulded detail: Cornices, staircases, and carved work, where photogrammetry earns its keep by preserving texture and edge detail.
- Vaults and curved geometry: Elements that standard BIM tools were never built to generate, requiring extended primitives or specialized add-ins.
- Condition and decay: Deterioration data tagged directly onto model elements, so a restoration technician can query the model instead of relying on memory.
- Hazard-relevant surfaces: Geometry that helps plan containment around presumed lead-paint surfaces in pre-1978 housing.
Capturing these elements is only half the value. What a design team actually does with that captured geometry is where the scan to BIM for renovation decisions get made.
Using BIM for Historic Home Renovation and Restoration
The value of as-built modeling services shows up downstream, in the decisions the finished model actually enables. Historic England frames BIM for heritage work as fundamentally collaborative, requiring architects, engineers, and conservation specialists to work off one shared asset information model rather than separate silos.
Energy retrofit is one of the clearest payoffs. Published HBIM-plus-simulation workflows move through documentation, model creation, energy verification, and retrofit optimization in sequence.
One case study on a fifteenth-century building confirmed energy reductions between 18.7% and 33%, depending on how much a client was willing to spend on interventions. That kind of number turns a retrofit conversation from guesswork into a comparison of real options.
Interoperability matters just as much for a building meant to outlast any single piece of software. IFC, standardized under ISO 16739, lets geometry and structured data move across more than 200 software tools. The practical caveat is that IFC is an exchange format, not a working format, so parametric intelligence rarely survives the round trip intact.
Scan to BIM Workflow for Historic Residential Buildings
Pulling the earlier stages together, the sequence that runs through peer-reviewed heritage literature looks like this:
- Define information requirements: Set LOD targets, accuracy bands, and file formats before modeling starts.
- Research the archive: Old maps and photographs shape how ambiguous geometry gets interpreted later.
- Plan survey control: Establish three to six well-distributed control points at the target accuracy.
- Capture with multiple methods: Combine TLS and photogrammetry, following closed-loop field discipline.
- Register and georeferenced: Target 3-5mm standard deviation and verify against control.
- Clean and segment the cloud: Strip noise while preserving edges, then classify by element.
- Generate geometry: Use NURBS interpolation or section-based extraction based on irregularity.
- Model in BIM: Disallow automatic wall joins and model non-repeating openings in place.
- Attach semantics and phasing: Link monitoring data and construction timelines to elements.
- Verify and hand over: Run deviation analysis, then deliver both an E57 archive and the native file.
This is the same discipline that separates scan to BIM for renovation projects that hold up under scrutiny from ones that quietly drift off tolerance somewhere in the middle.
Benefits of As-Built BIM Models for Historic Homes
Once the workflow above is followed properly, the payoffs of existing home scanning for remodeling are measurable.
Faster fieldwork with full coverage
Peer-reviewed studies show terrestrial laser scanning cut data-collection time by up to 50% compared with traditional surveying.
Contractible accuracy
Registration at 3-6mm and model-to-cloud deviations around 1-2mm let teams specify tolerance and prove it, instead of just asserting it.
Earlier error detection
Practitioners consistently rank deviation detection and dimensional precision among the top benefits of working from a scanned model.
One survey, many disciplines
More than 78% of surveyed professionals said their projects involve multiple people working off the same dataset, spanning architecture, structure, and MEP.
A durable conservation record
The raw point cloud itself can be archived in the open E57 format, outliving any single software platform.
Less disturbance of hazardous material
Precise geometry lets renovation teams plan around surfaces presumed to contain lead paint, cutting down exploratory demolition.
This is why existing building scanning for remodeling has moved from a nice-to-have survey step to a documented part of project risk management.
Conclusion
Reliable as-built models do not come from an accurate scanner working alone. They come from a controlled chain: a planned scan network, verified registration, deliberate handling of known error sources, a clear accuracy specification, and deviation analysis that proves the model against the cloud it came from. Capture itself is largely solved at the accuracy heritage work demands. Conversion is not, since automation only works reliably on flat, simple geometry.
That makes the decisive variable in any scan to BIM for heritage project the quality of the brief, not the spec sheet on the scanner. For anyone commissioning historic building documentation, three habits matter most: specify LOD and accuracy separately per element, require registration and deviation reports as deliverables, and keep a neutral archive alongside whatever format your team prefers. Skip those steps and you get an expensive drawing nobody can verify.