Outdated as-built drawings cost AEC firms real money. Field crews discover walls that moved, ducts that were never documented, and structural elements that don't match the original design. These gaps surface during demolition, mid-renovation, or worse, during construction bidding. Teams then scramble to verify conditions manually, adding weeks to schedules and inflating costs on projects that were already tight.
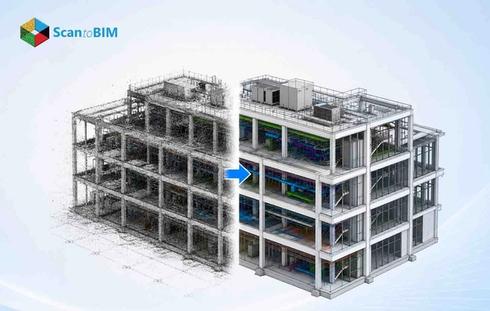
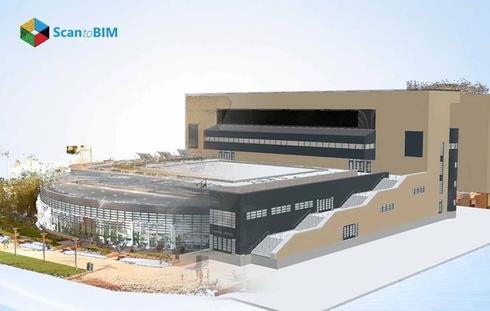
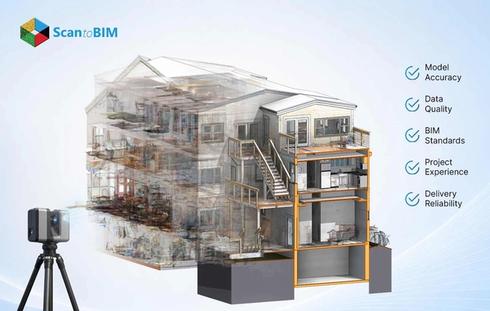
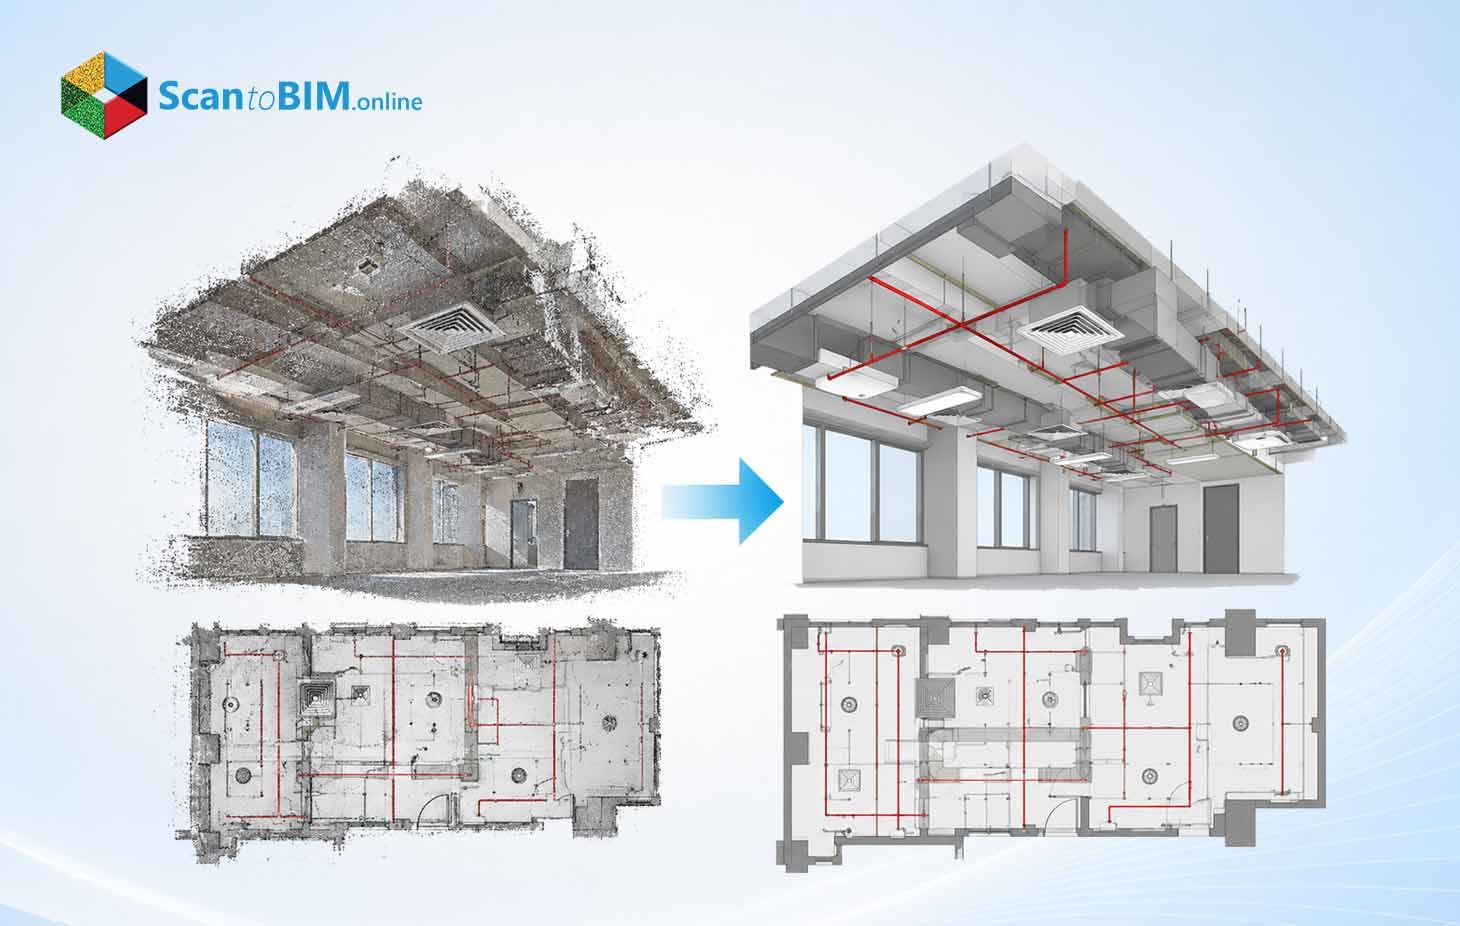
RCP to Revit conversion solves this problem at the source. Laser scanners capture existing conditions with survey-grade precision. That data becomes the foundation for a Revit model reflecting real conditions not decades-old drawings. For firms managing renovation, retrofit, or facilities documentation, this workflow removes the guesswork that traditional 2D redlines can't fix.
What Is RCP to Revit Conversion?
RCP to Revit conversion turns raw laser scan data into Autodesk ReCap project files. Those files then link into Revit for modeling existing conditions. Autodesk's RCP format works as a lightweight container. It references one or more RCS scan files. It also stores registration transforms, clipping regions, and display settings. Revit imports RCP and RCS directly and becomes a read only reference layer. Modelers then build the as-built Revit model on top of it.
Before reaching Revit, raw formats like E57, LAS/LAZ, and PTS get indexed into RCP/RCS using ReCap Pro. This step applies spatial indexing, colorization, and noise filtering. The output is a dataset optimized for point cloud to BIM work across Revit, AutoCAD, and Navisworks. RCP to Revit conversion, then, isn't just a file swap. It describes the entire pipeline that turns scan data into something a modeling team can use for as-built work.
How RCP Data Is Used in Revit
Once the RCP is linked, Revit treats it as a reference rather than editable geometry. Designers see a dense field of points in model space. They snap to those points to trace walls, floors, and structural elements. Native Revit elements get built by tracing what the scan shows. Section boxes, view ranges, and visibility settings let modelers isolate one floor or zone at a time. This keeps point cloud Revit modeling manageable, even on projects covering an entire building.
Positioning matters just as much as visibility. RCP data typically gets placed using one of three methods: Origin to Origin for local alignment, Center to Center for quick visualization, or By Shared Coordinates for survey-based alignment. When scans have been registered to a survey coordinate system, shared coordinates keep the as-built Revit model consistent with other discipline models. Matching ReCap's registration basis to Revit's project base point avoids the ad hoc repositioning that breaks multi-discipline coordination.
RCP references support several practical tasks:
- Establishing levels and grids from actual floor elevations
- Verifying existing walls, openings, slabs, and roofs against real geometry
- Supporting point cloud RCP to Revit workflows for MEP routing and clash detection in renovation work
Many teams keep the RCP linked throughout design and coordination, not just during initial modeling. This lets them cross-check geometry as decisions get made. Some deliverables even include the point cloud alongside the finished Revit model, so future retrofit teams can revisit the original scan data.
Step-by-Step RCP to Revit Conversion Workflow
A dependable laser scan to Revit workflow follows a clear sequence, and skipping steps is where most point cloud to BIM projects run into trouble. Each stage feeds into the next, and quality at one stage determines how much rework happens later.
Reality capture
Field teams scan the building using terrestrial laser scanners or mobile LiDAR, targeting structural cores, ceiling voids and hard-to-reach zones based on project scope.
Registration and cleaning
Software aligns individual scans into one coordinate framework, then teams remove noise, temporary objects and scanner artifacts so the cloud reflects permanent geometry only.
Indexing to RCP/RCS
ReCap converts raw formats like E57 or LAS into RCP/RCS and apply spatial indexing and compression that can shrink file sizes by 50 to 90 percent.
Revit project setup
The team establishes coordinate systems, levels and grids that will anchor the model before the point cloud even gets linked.
Linking the RCP
The point cloud loads into the Revit project and the team checks known dimensions on site to confirm scale and placement are accurate.
Reference-based modeling
Modelers trace walls, floors, roofs and MEP elements by snapping to visible points, working discipline by discipline.
Model-to-cloud QA
The finished as-built Revit model gets checked against the source cloud for deviations, with documentation of any occluded or uncertain areas.
Getting registration right early pays off later. Scan to BIM research literature reports registration accuracy within a few millimeters when control points are used properly, which keeps every downstream step honest.
What Can Be Modeled from RCP Point Clouds?
With a solid workflow in place, the next question firms ask is how much of a building can actually be modeled from the scan. The answer depends on scan coverage, point density, and what surfaces were visible to the scanner.
Architectural elements typically modeled include:
- External and internal walls at actual thickness and alignment
- Floors, slabs, and roofs including pitched and curved forms
- Doors, windows and openings positioned at real sill and head heights
Structural elements that come through well include:
- Columns and beams with actual alignment and eccentricities captured
- Load-bearing walls and shear elements
- Foundations and footings where exposed
MEP systems present more of a challenge since scanners can't see through walls or above finished ceilings. Still, point cloud to Revit modeling commonly captures main HVAC ducts and branches, visible piping for chilled water and fire protection and cable trays with major equipment such as AHUs and panels.
For heritage buildings, RCP Revit modeling extends further into vaults, niches, and irregular stonework using custom parametric families. Research on heritage BIM Research on heritage BIM recommends mixed Level of Development, applying LOD 200 to 500 depending on how critical each element is, rather than modeling everything at maximum detail. That same logic applies to everyday renovation work: model what matters for the decision at hand.
RCP to Revit for As-Built Documentation
That same modeling scope discipline applies directly to as-built documentation, which is really the end goal of the entire process. This workflow has become the standard method for producing documentation that reflects a building's true condition instead of its original design intent.
Industry guidance on as-built documentation points to 3D laser scanning as the gold standard for capturing existing conditions, with professional equipment reaching accuracy in the range of plus or minus 2 to 4 millimeters. When combined with point cloud to Revit workflows, this precision supports reliable modeling of walls, floors, MEP systems, and site features, whether the deliverable feeds design, construction verification, or facilities management.
As-built documentation isn't one file type. It usually includes:
- The as-built Revit model, with parametric elements editable by design teams
- CAD drawings and IFC exports for stakeholders using other software
- The registered point cloud itself, delivered for future reference
Owners and facility managers get particular value from as-built Revit models because they integrate with asset management platforms. USIBD's Level of Accuracy framework gives firms a way to specify exactly how closely a model needs to match reality, with LOA 20-30 common for standard documentation and LOA 40 reserved for high-precision work like heritage projects or fabrication tie-ins. Specifying both LOA and LOD together removes ambiguity about what a client is actually paying for.
RCP to Revit for Renovation and Retrofit Projects
Renovation and retrofit projects benefit most from this level of documentation, since existing buildings frequently drift from their original drawings after years of undocumented changes. Scan to BIM for renovation replaces guesswork with measured reality and helps design teams plan interventions with actual dimensions instead of assumptions.
For architectural renovation work such as interior refits or facade upgrades, converting point cloud RCP to Revit data gives designers a precise reference for ceiling heights, structural spans and available space. Teams can then explore design options while understanding exactly how new work interacts with existing structure, cutting down on conflicts discovered mid-construction.
MEP retrofit work, such as HVAC replacement or fire protection upgrades, depends even more heavily on accurate as-built information. Congested ceiling voids and mechanical rooms hide most of the risk in these projects. Scanning these spaces and building coordinated models across architecture, structure, and MEP disciplines supports clash detection before construction starts, not after.
Progressive retrofit projects add another layer of value. Teams scan at multiple project milestones, documenting both existing and newly installed elements. This builds a running record that future renovation teams can trust. For owners, the real return on laser scan to Revit investment shows up later: fewer surprises, smoother construction sequencing, and dependable data for facility operations for years afterward.
Best Practices for Reliable As-Built Revit Models
Getting consistent results across projects means codifying a few practices rather than leaving quality to individual modelers. Published research and field guides on scan to BIM for as-built modeling services point to the same handful of priorities.
Define scope, LOA, and LOD before scanning starts:
- Project areas to document, by floor or zone
- Target Level of Accuracy such as LOA 20, 30 or 40
- Required Level of Development for each discipline
Control coordinates and registration carefully:
- Align ReCap projects to known reference points not default settings
- Verify registration accuracy at multiple locations before modeling begins
- Match Revit's shared coordinates to the scan's original coordinate basis
Structure the point cloud for usability:
- Organize RCP data by floor or zone to reduce clutter
- Clip to project extents and remove irrelevant objects
- Deliver both an archival E57 file and a modeling-focused RCP
Build modeling standards teams can reuse:
- Standard family libraries for common architectural, structural and MEP elements
- LOD matrices by element category so effort matches importance
- View templates and color filters suited to dense point cloud Revit modeling
Consistent standards like these keep RCP Revit modeling repeatable across project teams. Finally, run QA against the source cloud before calling the model finished with visual checks, dimension comparisons and a written report on achieved accuracy. Embedding this level of QA into RCP to BIM services builds trust with clients who depend on the model for years.
How to Choose an RCP to Revit Service Provider
Once a firm knows what good looks like internally, evaluating an outside provider becomes far more straightforward. The same standards used for in-house QA apply directly to vendor selection.
Capture technology and field expertise
Ask about equipment accuracy, typically plus or minus 2 to 4 millimeters for professional terrestrial scanners, and whether the provider can combine TLS with photogrammetry or drone data for complex sites.
Point cloud processing and RCP delivery
Providers should handle registration, cleaning, and indexing as a structured process, not an afterthought and deliver RCP alongside archival formats so nothing gets lost.
Revit point cloud modeling knowledge
This includes performance considerations for large files, correct linking and positioning practices and familiarity with managing multiple point cloud references on one project.
Documented standards for LOD, LOA and QA
Ask providers how they define and measure LOA 30 or LOD 300 in practice and request sample QA reports showing typical deviation results.
Communication and long-term support
Good as-built modeling services come with clear reports on capture methods, coordinate systems, and modeling assumptions, plus willingness to support iterative review with design and construction teams.
Firms that vet providers against these criteria, rather than marketing claims alone, tend to get RCP to BIM services that hold up through construction and beyond. The provider becomes a long-term data partner, not a one-time vendor.
Conclusion
Well-defined workflows separate reliable as-built documentation from expensive guesswork. Firms that invest in structured capture, registration, indexing, and QA get Revit models that hold up under scrutiny, whether for design coordination, permitting, or facility operations years later. A structural study of the Baelo Claudia basilica in Spain used point-cloud-based as-built models to run finite element analysis comparing real deformed geometry against idealized drawings, showing how far laser scan to Revit approaches can extend beyond routine documentation.
The practical takeaway is simple. Build workflows around documented LOA and LOD standards, choose providers who can prove their process rather than describe it, and keep the point cloud linked so future teams can verify assumptions. For firms managing renovation, retrofit, or facilities documentation, that discipline turns Scan to BIM for renovation from a one-off exercise into a repeatable capability that pays off on every project after the first.