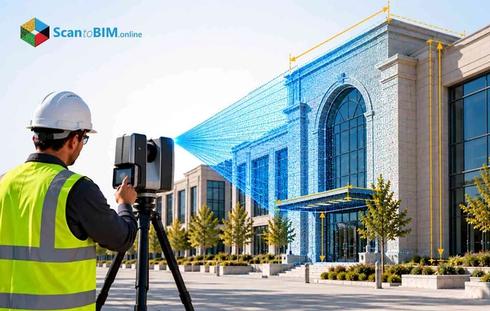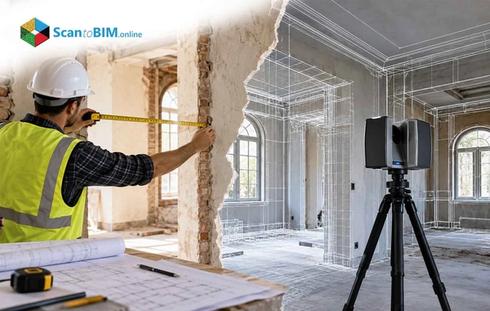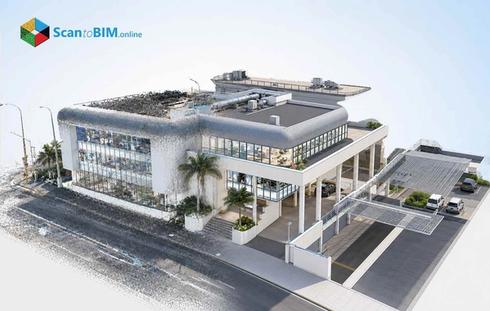
Every renovation project runs into the same problem before design work even begins. Nobody actually knows what the building looks like right now, only what the old drawings claim. Site teams still answer this with tape measures and laser distometers. Some rely on full laser scanning campaigns that eat into the schedule before design even begins. Laser scanners deliver excellent accuracy. But tripod setups, bulky equipment, and long processing times keep them out of reach for routine documentation work.
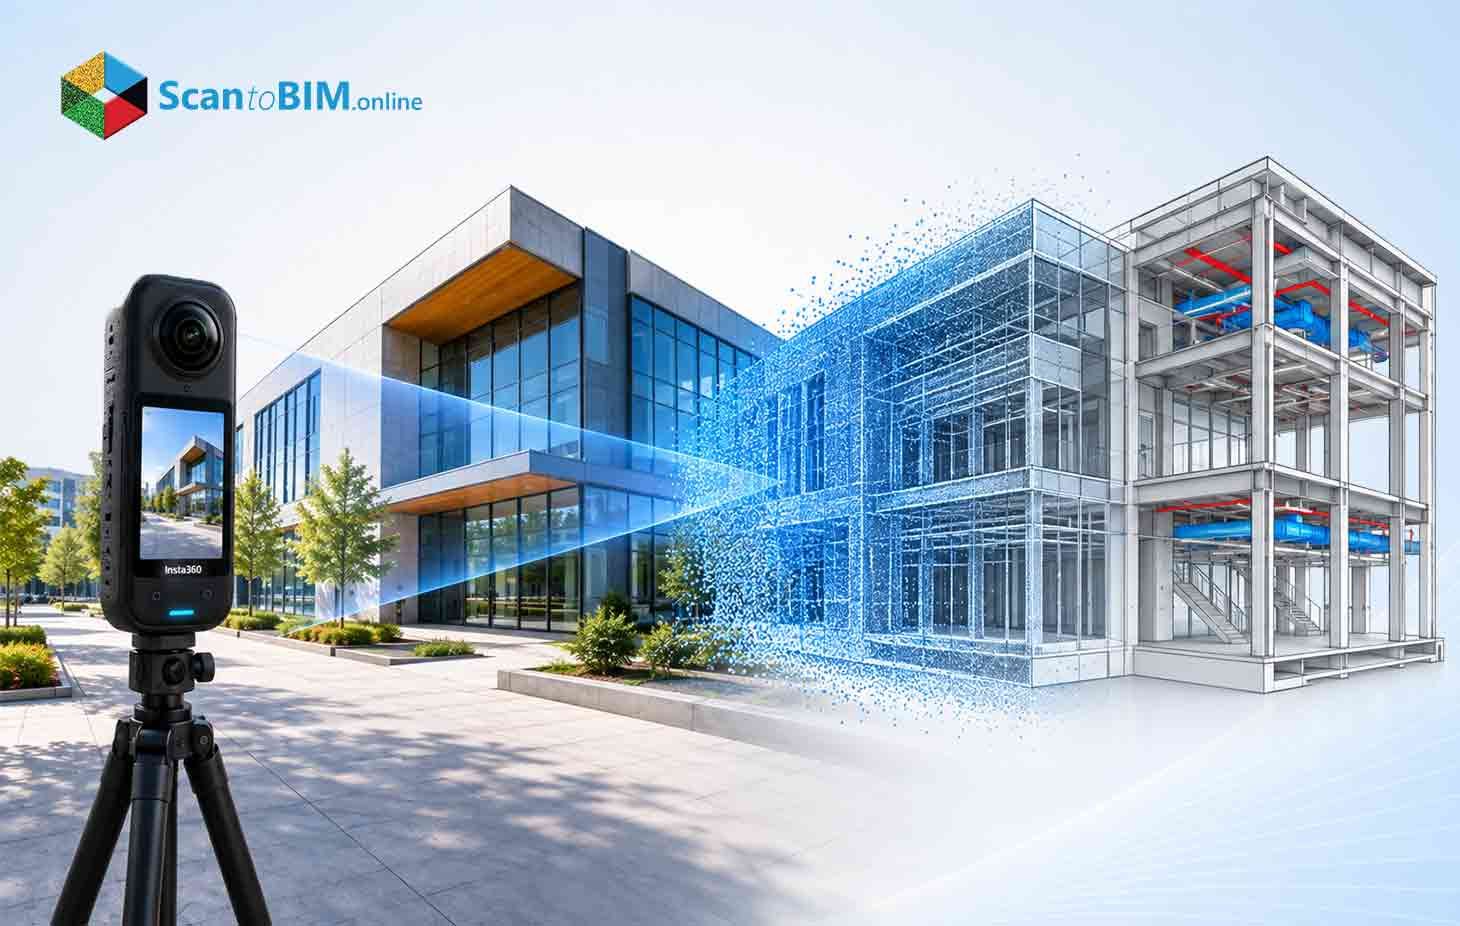
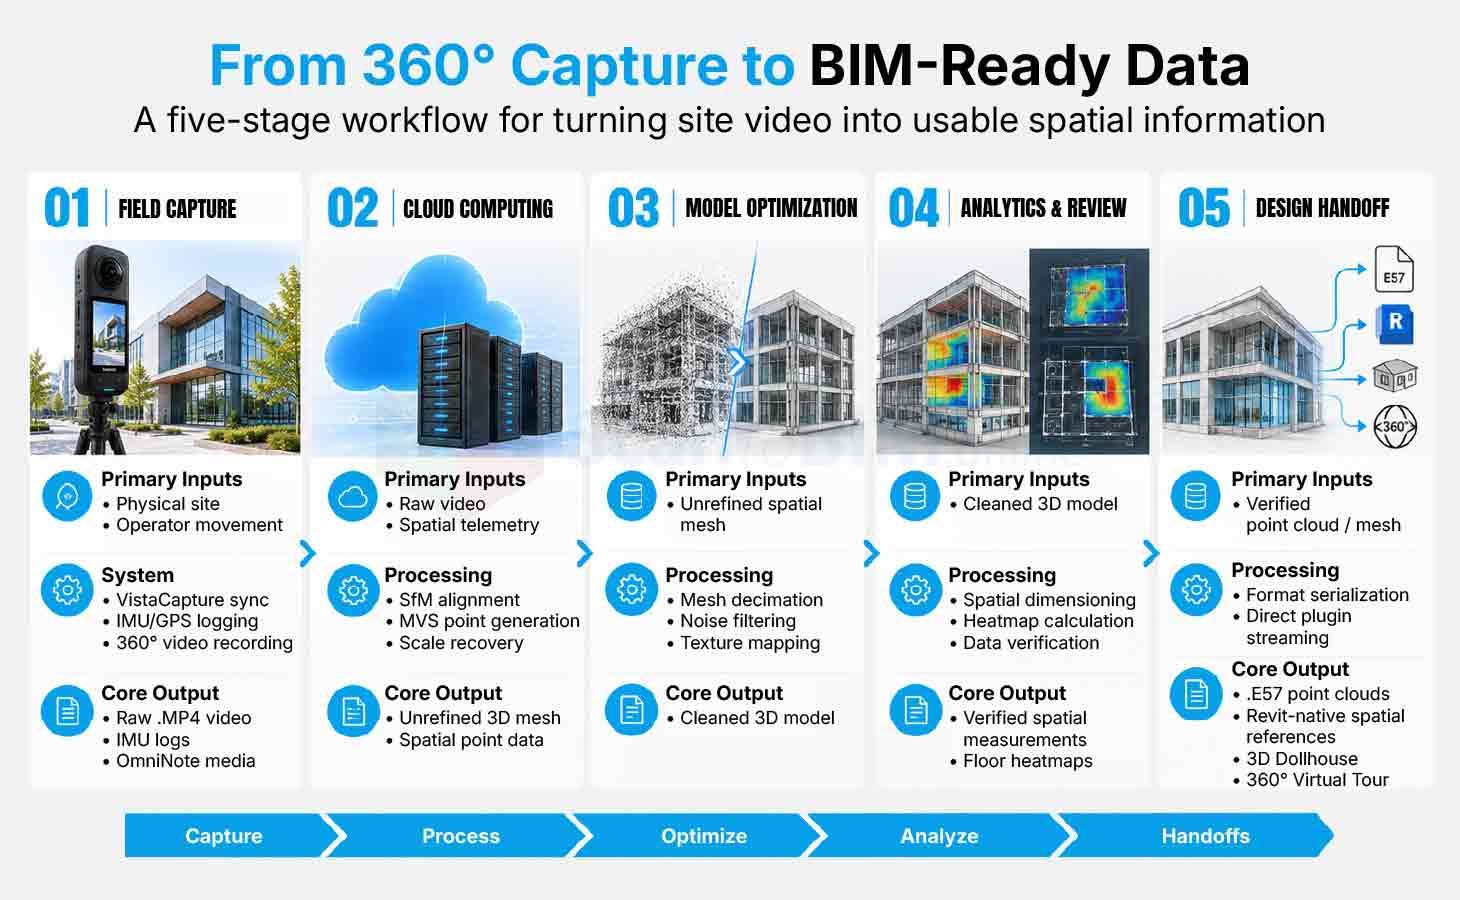
This gap is exactly why more AEC firms are turning to 3D reality capture services. These pair simple 360° video walkthroughs with cloud-based processing. Two tools drive this change: the Insta360 X5 camera and the CupixVista platform. Together they turn a building walkthrough into usable spatial data, without a survey crew or a six-figure budget. This guide covers the full 3D building capture process, from field prep to CAD and BIM handoff.
What Is the Insta360 X5?
The Insta360 X5 is the camera doing the fieldwork in this pairing, so it helps to see what sets it apart from a standard action camera. Dual back-illuminated CMOS sensors and ultra-wide fisheye lenses record a full 360°×180° view in one pass. No angle gets missed, even in tight mechanical rooms. The camera shoots raw video at up to 8K at 30fps, or 5.7K at 60fps for faster walks. For static 3D building scanning work, it captures 72-megapixel stills, sharp enough for existing building surveys and detailed site inspection.
Construction sites almost never offer even lighting. Basements go dark while exterior walls face direct sun, sometimes within the same walkthrough. Active HDR and noise reduction balance both extremes. FlowState stabilization and Horizon Lock keep footage steady on a moving hard hat. Interchangeable batteries and a weatherproof body let field teams finish a full day of construction site documentation without a mid-shift swap. That kind of field durability only matters if the footage can become real 3D data, which is where CupixVista comes in.
What Is CupixVista?
Good footage is only half the equation, and CupixVista handles the rest. It is a cloud-based Spatial AI platform that turns 360 camera building capture into usable 3D geometry, without a laser scanner or a dedicated survey crew. Teams upload their video, and the platform runs the math needed to turn frames into a coherent structure.
The engine runs Structure from Motion and Multi-View Stereo algorithms built for 360° footage. It pulls overlapping frames, matches visual keypoints, and calculates the camera's path through the space. SLAM principles correct for drift on longer walks.
Output goes beyond a bare point cloud. CupixVista also builds an interactive virtual tour and a 3D dollhouse view, plus features built for documenting existing building conditions:
- OmniNote lets field staff record voice notes or close-up photos, pinned to their exact 3D location.
- AI text recognition reads labels and nameplates from those photos, making assets searchable later.
- Elevation heatmaps color-code the floor plane, flagging slab dips without a separate leveling survey.
That list only matters if the hardware feeding it holds up on site, which brings the X5 and CupixVista back together as one system.
How Insta360 X5 and CupixVista Work Together
Knowing what each tool does alone helps. But the real value shows up once camera and platform combine into one 3D reality capture pipeline. Hardware quality feeds straight into software output, so the X5's resolution and motion data shape how well CupixVista rebuilds a space.
Video-based photogrammetry has always struggled with scale ambiguity. Without a reference, software cannot tell a small room from a warehouse. CupixVista fixes this by fusing the X5's Inertial Measurement Unit data with the video itself. Optical tracking estimates relative motion, while the IMU supplies real acceleration and rotation values. Combined, these recover the model's true scale automatically, with no manual scale bars or ground control points needed.
Outdoors, smartphone GPS joins that fusion process, anchoring the walk to real-world coordinates. The X5's 8K resolution adds more matched features during reconstruction, helping the platform resolve tight corners and overhead ductwork that lower-resolution cameras tend to miss. None of this happens automatically, though. It depends on a consistent capture process, worth walking through step by step.
Step-by-Step Insta360 X5 and CupixVista Workflow
With scale handled on the software side, the field process becomes easy to standardize. Turning a walkthrough into usable data through scan to BIM services works best as a repeatable sequence for existing building capture, not an improvised walk with a camera.
Preparation comes first.
Preparing a Building for 360° Capture
Good 3D reality capture services depend on the walk being set up properly, which is why site prep matters as much as the walkthrough itself. Spherical photogrammetry reads light and texture instead of emitting a laser pulse, so site conditions directly affect 3D building scanning results.
Lighting comes first. Dim areas need temporary work lights whereas harsh bulbs should be diffused or switched off. Rooms with bright windows benefit from closed blinds or a capture window during even daylight hours.
A few surfaces need extra attention:
- Blank walls: Painter's tape or sticky notes give featureless drywall something for keypoint matching to lock onto.
- Reflective surfaces: Propping open glass doors or marking mirrors and glossy floors prevents confused depth readings.
- Open doorways: Every door on the route stays propped open, since movement mid-walk throws off tracking.
- Clear paths: Loose debris gets cleared from walkways for safety and clear sightlines.
A well-prepped interior sets up the walk. But indoor and outdoor spaces still behave differently once recording starts.
Capturing Indoor and Outdoor Building Spaces
Indoor and outdoor environments call for different habits, since each comes with its own range and light behavior.
- Indoors, depth recovery works best between 0.5 and 5.0 meters from the camera. Mounting the X5 at 2.0 to 2.4 meters clears furniture and partitions. A steady 1.0 meter-per-second pace with wide turns avoids blur. Multi-story buildings get captured floor by floor, using stairwells as the connector between levels.
- Outdoors, depth recovery extends to 10.0 meters, using open sightlines and natural light. Smartphone GPS pairs with the camera's IMU to place the walk into real-world coordinates automatically. Walking 3 to 5 meters from a facade keeps details in view. Heavy rain, fog, or direct glare should be avoided, since they cause visual artifacts.
Crossing between indoor and outdoor spaces needs a short pause. Standing in a doorway for 2 to 3 seconds lets exposure adjust and GPS lock back in. Once that walk is complete, the real transformation begins on the software side.
Turning 360° Captures into 3D Building Data
This is where raw footage becomes genuine 3D reality capture, not just a video file. That conversion happens entirely on CupixVista's cloud side, through several distinct stages.
The process starts with frame extraction and keypoint matching. The platform pulls static frames from the 8K video and detects visual keypoints across overlapping images. Those matched keypoints let the Structure-from-Motion engine calculate camera position at each frame, with bundle adjustment cleaning up small errors along the way.
Once camera positions are locked, the platform moves into surface reconstruction. This stage happens in a specific order:
- Multi-View Stereo reconstruction compares pixel detail across neighboring views to calculate depth at every point.
- Those depth values build a dense point cloud covering every visible surface.
- The point cloud becomes a continuous mesh, trimmed of excess detail on flat areas while sharp edges stay intact.
- Original imagery projects back onto that mesh, producing a textured model close to a photograph.
That model only becomes useful once someone can measure it and pull real data from it.
Measurements, Point Clouds, and 3D Documentation
A textured model looks convincing. But the real value of 3D reality capture services comes from what teams can measure and pull from it. CupixVista gives project teams direct spatial analysis tools inside one web dashboard.
Independent benchmarking shows CupixVista holds dimensional accuracy within 1% to 2% of real measurements. Average deviation runs about 6 cm against terrestrial laser scanners such as the FARO Focus series. That accuracy suits pre-design and existing building surveys, plus general Scan to CAD services, though it falls short of what steel fabrication demands.
A few tools do most of the work:
- Precision dimensioning - Linear distances, wall areas, and room volumes, measured directly in the browser.
- Elevation heatmaps - Color-coded floor data showing slab deflections and slope changes at a glance.
- OmniNote asset intelligence - Transcribed notes and OCR-read tags, indexed to exact 3D coordinates for later search.
Exported files land in formats such as .E57, .PLY, .XYZ, .GLB, and .OBJ, covering most CAD and BIM software already in use. Getting a clean point cloud out is one thing. Getting it into an actual CAD drawing or BIM model is the next step.
From 3D Capture to Scan to CAD and Scan to BIM
Those export formats matter because they determine how smoothly a project moves through the Point cloud to BIM workflow, which is the real destination for most of this captured data.
Point clouds used to be a headache to import into Revit. Modelers needed a heavy .E57 export, a pass through Autodesk ReCap Pro, then a separate link into Revit. The Cupix Reality Importer plugin cuts this to one click, pulling the point cloud straight into an active Revit viewport.
From there, work splits into two directions:
- Scan to CAD services: Draftspersons slice the point cloud horizontally to pull floor plans, wall lines, and window schedules in .DWG format.
- Scan to BIM services: Modelers build parametric walls, columns, and ductwork directly over the point cloud, from LOD 100 massing up to LOD 300 detailed work.
For renovation planning, these models become a verified as-built baseline. Engineers overlay new MEP designs against captured geometry and catch clashes before fabrication starts. That handoff is valuable, but it is worth being honest about where this capture method holds up and where it does not.
Benefits and Limitations of 360° Building Capture
Weighing reality capture for AEC options comes down to speed, accuracy, and budget fit. Comparing 360 camera building capture against Terrestrial Laser Scanning shows clear trade-offs on both sides.
Speed favors the X5 and CupixVista pairing by a wide margin:
- Field teams cover up to 1,500 meters in a 20-minute walk, against 2 to 5 minutes per single scan position with a tripod-based scanner.
- Camera hardware costs under $1,000, against $30,000 to $80,000 or more per scanner unit.
- Field staff need far less training than certified survey professionals to produce usable results.
That speed comes with a trade-off. Schematic accuracy sits below what laser scanning delivers, with roughly 6 cm of average drift over larger areas compared to millimeter-level tolerances. Dark basements and reflective surfaces can still disrupt keypoint matching, adding noise to the final point cloud.
| Operational Dimension | 360° Video SLAM(Insta360 X5 + CupixVista) | Terrestrial Laser Scanning (TLS) |
|---|---|---|
| Field Capture Speed | Extremely fast; continuous walking capture. Up to 1,500 m in 20 minutes | Slow to moderate; static tripod setups. 2–5 minutes per scan location |
| Hardware Expenditure | Low capital outlay; sub-$1,000 camera investment | High capital outlay; $30,000–$80,000+ per scanner unit |
| Skill Requirement | Minimal training; passive walking capture can be performed by site staff | High technical skill; trained or certified survey professionals required |
| Spatial Precision | Schematic accuracy; 1–2% dimensional scale with approximately 6 cm drift | High precision; millimeter to sub-millimeter tolerances |
| Visual Documentation | Continuous 360° HDR video with an interactive virtual tour/digital twin | Discrete panoramic scan locations with potential visual blind spots |
| Optimal Project Phase | Pre-design site surveys, progress monitoring, and Scan-to-CAD/BIM workflows | Structural deformation analysis, heritage preservation, and steel fabrication |
Because of this, more firms treat reality capture for AEC as a blend of both methods rather than picking just one. Laser scanners cover core structural grids, while the Insta360 X5 and CupixVista pairing handles broader interiors, progress tracking, and everyday existing building capture. That balance is really the whole point of pairing these two tools in the first place.
Conclusion
Choosing between these approaches comes down to what a project needs to prove. For most day-to-day documentation, speed and coverage win. Pairing the Insta360 X5 with CupixVista turns an ordinary walkthrough into point clouds, textured meshes, virtual tours, and notes tied to exact site locations, feeding a smooth Point cloud to BIM workflow and supporting a complete 3D building capture record.
Laser scanning still matters for millimeter-tolerance work, but it was never built for routine building documentation at scale. This pairing gives project teams a practical way to capture existing building conditions, support renovation planning, and maintain a running record of construction site documentation, without the cost of a full survey crew. For firms closing the gap between field conditions and design models, that combination belongs in the standard workflow.